Ever wondered how to make sugar wax at home without breaking the bank? Well, you're in the right place! Making sugar wax is not only easy but also super affordable. Whether you're looking to save money or simply want a natural alternative to store-bought wax, this guide has got you covered. So, grab your ingredients and let's dive in!
Let's be honest, professional waxing sessions can get expensive real quick. Plus, who has time to schedule an appointment when life gets hectic? That's why learning how to make sugar wax is such a game-changer. It's like having a spa day in your own bathroom, minus the high price tag.
Before we get into the nitty-gritty of sugar waxing, let's talk about why it's becoming so popular. Unlike traditional wax, sugar wax is made from natural ingredients, making it gentler on the skin. Plus, it’s reusable, which means less waste and more savings. Now, doesn’t that sound like a win-win situation?
- Despacito Lyrics In English The Ultimate Guide To This Global Hit
- Joe Rogan Net Worth The Untold Story Behind The Wealth Of A Podcasting Legend
What Is Sugar Wax and Why Should You Use It?
Sugar wax is basically a homemade alternative to commercial waxing products. It's made from three simple ingredients: sugar, lemon juice, and water. Yep, that's it! These ingredients create a paste that’s easy to apply and removes hair effectively. The best part? It's completely natural and free from harsh chemicals.
Here’s why sugar wax is worth trying:
- It’s gentle on sensitive skin.
- It’s cost-effective and budget-friendly.
- It’s easy to make at home with ingredients you probably already have.
- It’s eco-friendly and reduces waste.
So, whether you're new to waxing or a seasoned pro, sugar wax is definitely worth adding to your beauty routine. Let’s move on to the fun part—making it!
- Fell Out Of Coconut Tree A Tale Of Survival Recovery And Lessons Learned
- Sakura In The Woods A Journey Through Natures Delicate Beauty
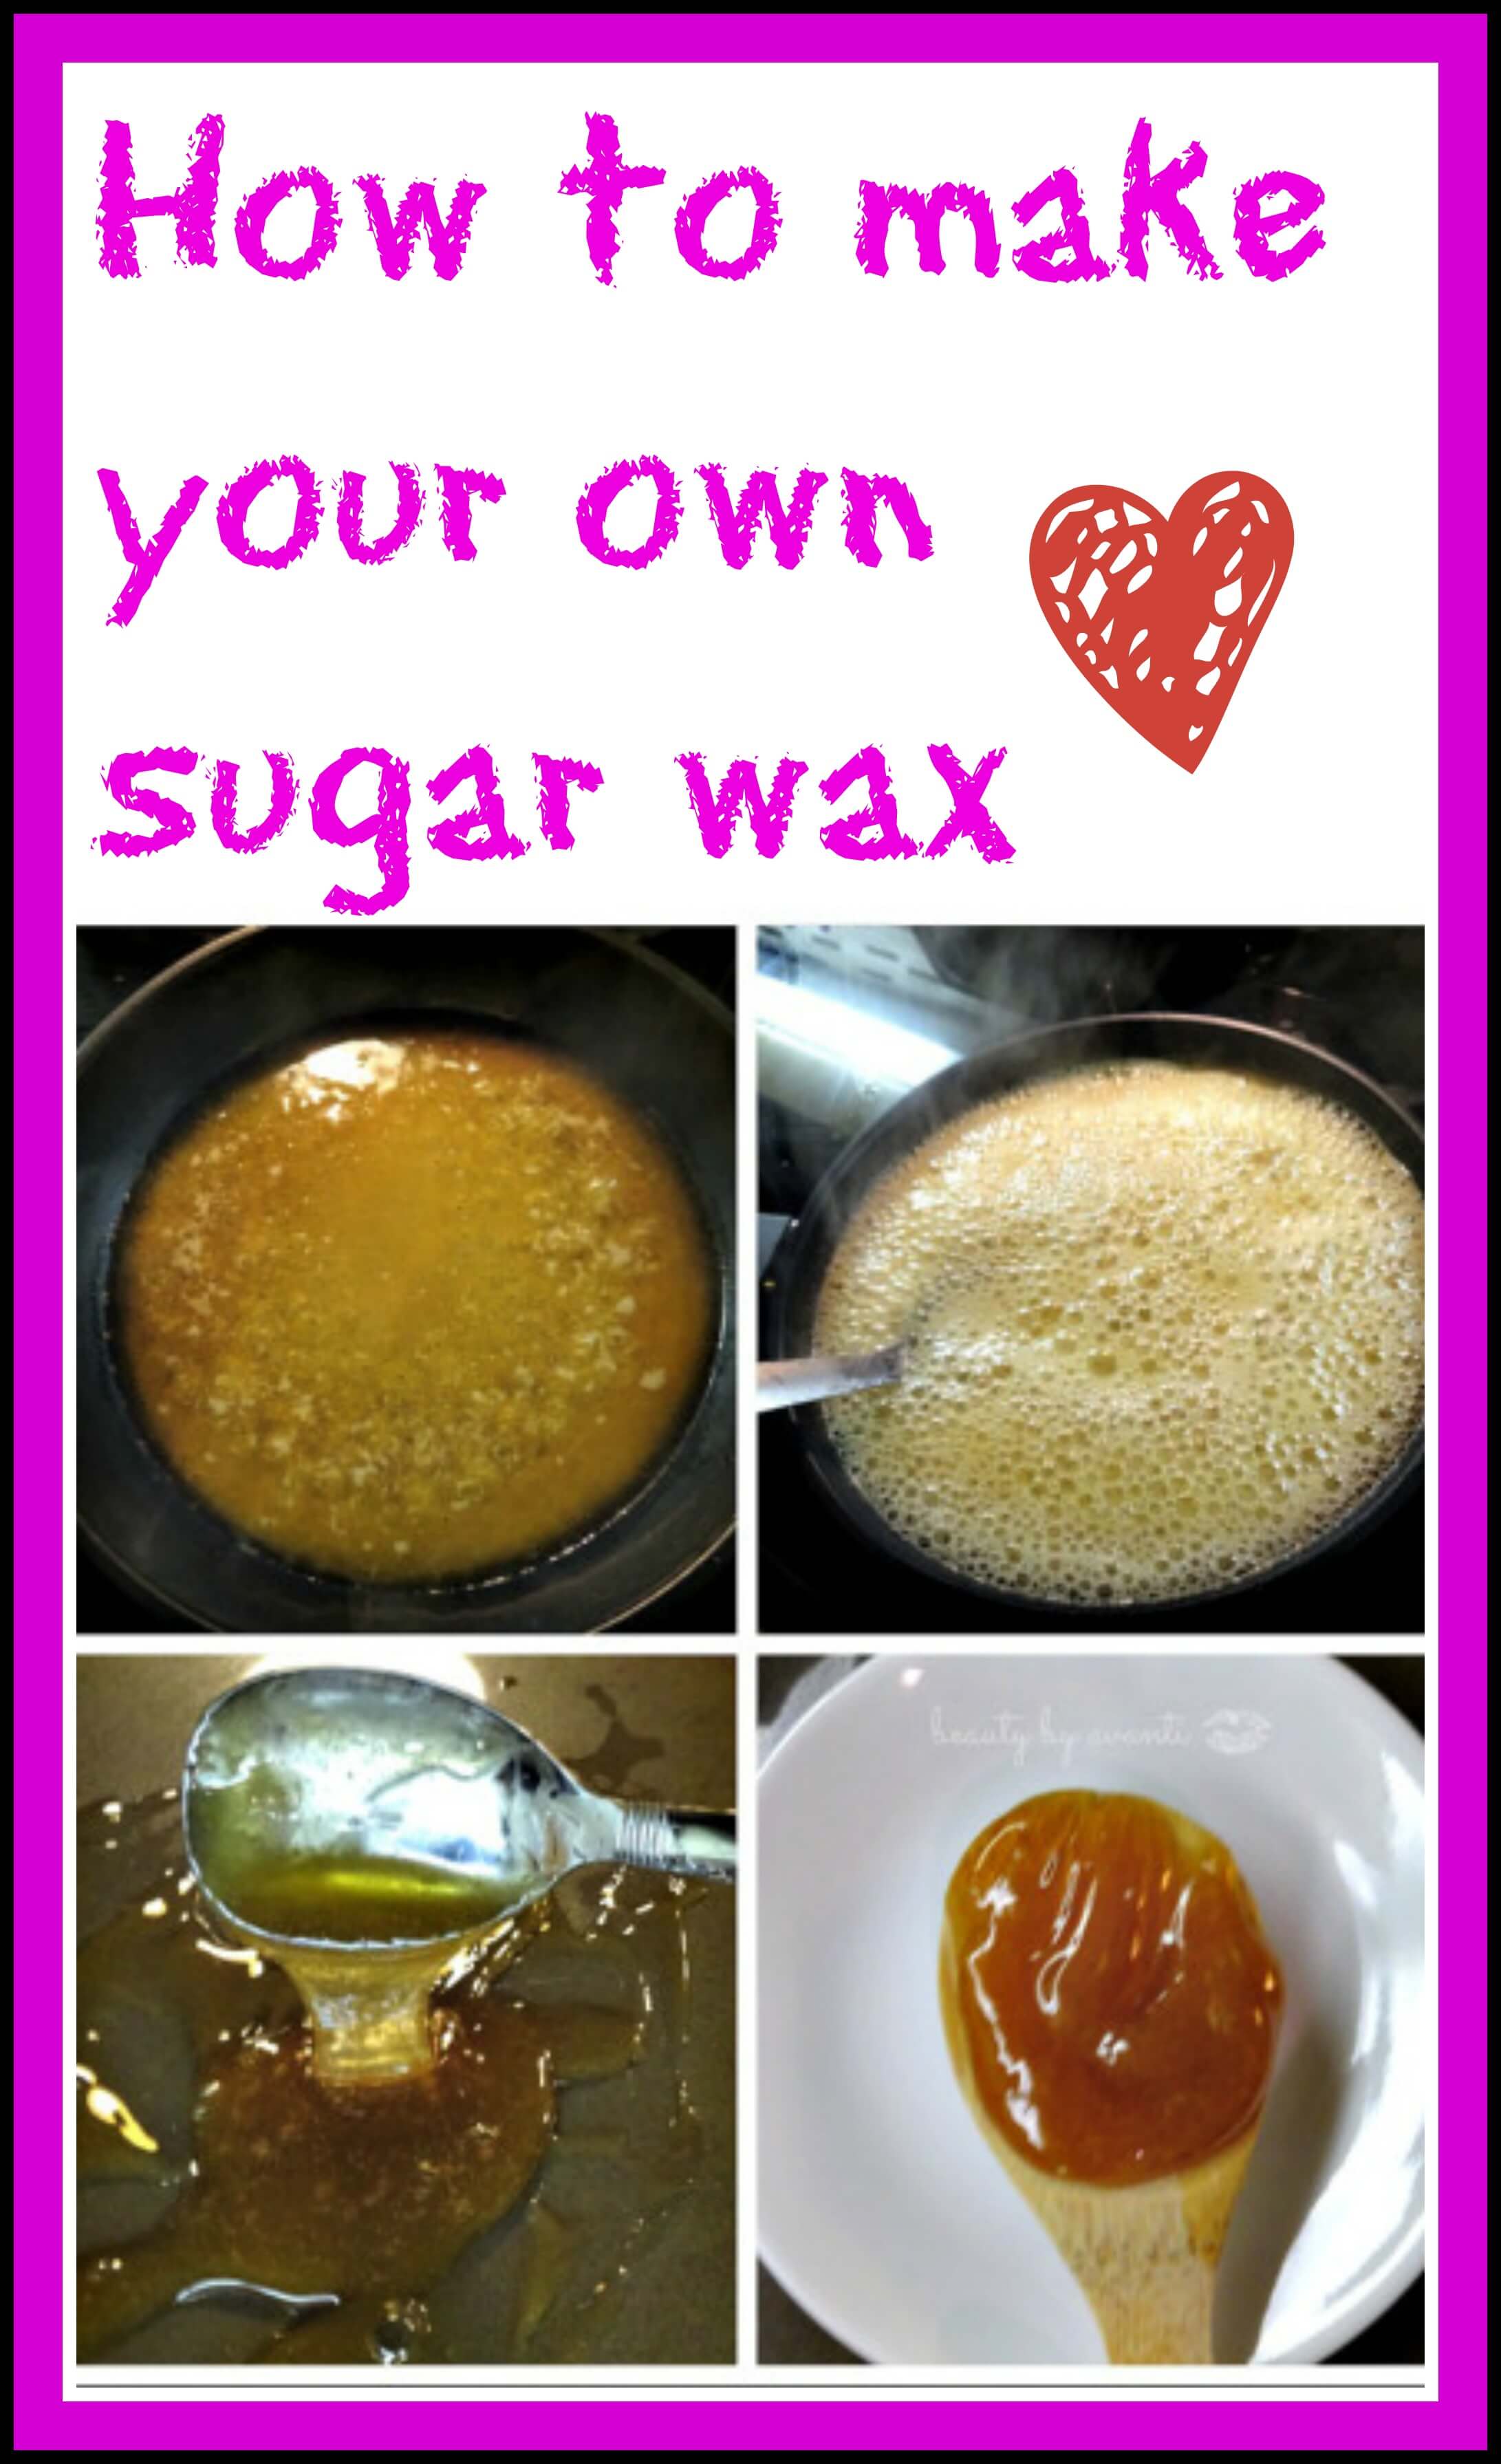
How to Make Sugar Wax: The Ultimate Step-by-Step Guide
Making sugar wax is surprisingly simple. You don’t need fancy equipment or expensive ingredients. Just follow these steps, and you’ll have your very own sugar wax in no time.
Step 1: Gather Your Ingredients
Here’s what you’ll need to make sugar wax:
- 1 cup of granulated sugar
- 1/4 cup of water
- 1/4 cup of fresh lemon juice
These ingredients work together to create a sticky paste that grabs hair by the roots. The sugar provides the stickiness, while the lemon juice acts as a natural antiseptic and helps the mixture set properly.
Step 2: Mix the Ingredients
In a small saucepan, combine the sugar, water, and lemon juice. Stir everything together until the sugar is fully dissolved. This step is crucial, so don’t rush it. You want to make sure there are no lumps of sugar left in the mixture.
Step 3: Heat the Mixture
Place the saucepan on medium heat and bring the mixture to a boil. Once it starts boiling, reduce the heat to low and let it simmer. Keep stirring occasionally to prevent the sugar from burning. The mixture will start to thicken and turn a light amber color. This usually takes about 10-15 minutes.
Step 4: Test the Temperature
Once the sugar wax reaches the desired consistency, remove it from the heat. Let it cool for a few minutes before testing the temperature. It should be warm but not hot enough to burn your skin. If it’s too hot, let it cool down a bit longer.
Step 5: Store the Wax
Pour the sugar wax into a heat-resistant container. You can reuse this wax multiple times, so it’s a good idea to store it in a jar with a lid. When you’re ready to use it again, simply reheat it in the microwave or on the stove.
Benefits of Using Sugar Wax
Now that you know how to make sugar wax, let’s talk about its benefits. Here are a few reasons why sugar wax is a great option for hair removal:
- Natural Ingredients: Sugar wax is made from all-natural ingredients, making it safe for sensitive skin.
- Cost-Effective: Making sugar wax at home is much cheaper than buying commercial wax or going to a salon.
- Reusability: Unlike other waxing methods, sugar wax can be reheated and reused, reducing waste.
- DIY Friendly: You don’t need any special tools or equipment to make sugar wax. Just a few simple kitchen items will do.
Plus, sugar wax is perfect for people who want to avoid harsh chemicals and synthetic ingredients. It’s like a spa treatment in a jar!
Tips for a Successful Sugar Waxing Experience
While making sugar wax is straightforward, there are a few tips that can make your waxing experience even better:
- Exfoliate your skin before waxing to remove dead skin cells and prevent ingrown hairs.
- Test the wax on a small patch of skin first to make sure you’re not allergic to any of the ingredients.
- Use strips of muslin cloth or cotton strips to remove the wax. These are reusable and eco-friendly.
- Apply a soothing lotion or aloe vera gel after waxing to calm your skin.
Remember, patience is key. If you’re new to sugar waxing, it might take a few tries to get the hang of it. But trust me, once you do, you’ll be hooked!
Common Mistakes to Avoid When Making Sugar Wax
Even though making sugar wax is simple, there are a few common mistakes that people make. Here’s what to watch out for:
- Not Stirring Enough: Make sure to stir the mixture frequently to prevent the sugar from burning.
- Using Too Much Water: Too much water can make the wax too runny, so stick to the recommended amount.
- Overheating the Wax: Be careful not to overheat the wax, as this can make it too sticky and difficult to use.
- Not Testing the Temperature: Always test the wax on your skin before applying it to larger areas.
By avoiding these mistakes, you’ll ensure that your sugar wax turns out perfectly every time.
Where to Buy Sugar Wax Ingredients
You can find all the ingredients you need to make sugar wax at your local grocery store or online. Here are a few places to check out:
- Granulated Sugar: Available at any grocery store or online retailer.
- Lemon Juice: You can use fresh lemons or buy bottled lemon juice at the store.
- Water: You probably already have this one!
For storage, you’ll need a heat-resistant container with a lid. Glass jars work great for this purpose. You can find them at kitchen supply stores or online.
How to Apply Sugar Wax
Once you’ve made your sugar wax, it’s time to apply it. Here’s how:
- Clean the area you want to wax with a gentle cleanser.
- Apply the sugar wax in the direction of hair growth using a spatula or your fingers.
- Place a strip of muslin cloth or cotton over the wax and press down firmly.
- Pull the strip off quickly in the opposite direction of hair growth.
- Repeat the process until the area is hair-free.
And that’s it! You’ve just completed a successful sugar waxing session. Pretty impressive, right?
How to Store Sugar Wax
One of the best things about sugar wax is that it can be stored and reused. Here’s how to store it properly:
Transfer the wax to a clean, heat-resistant container with a lid. Store it in a cool, dry place. When you’re ready to use it again, simply reheat it in the microwave or on the stove. Make sure to stir it well before applying it to your skin.
Alternatives to Sugar Wax
If sugar wax isn’t your thing, there are other natural hair removal options you can try:
- Honey Wax: Made from honey, beeswax, and essential oils, this wax is gentle and nourishing.
- Sugar-Free Wax: For those with a sugar allergy, there are sugar-free wax recipes available online.
- Depilatory Creams: These creams dissolve hair at the root and are easy to use, though they may contain chemicals.
Experiment with different methods to find what works best for you.
Conclusion
Learning how to make sugar wax is a great way to save money and take control of your beauty routine. With just a few simple ingredients, you can create a natural, effective wax that’s gentle on your skin. Plus, it’s reusable and eco-friendly, making it a win-win for both you and the planet.
So, what are you waiting for? Grab your ingredients and start making sugar wax today! And don’t forget to share your experience in the comments below. We’d love to hear how it went for you.
Table of Contents
- What Is Sugar Wax and Why Should You Use It?
- How to Make Sugar Wax: The Ultimate Step-by-Step Guide
- Benefits of Using Sugar Wax
- Tips for a Successful Sugar Waxing Experience
- Common Mistakes to Avoid When Making Sugar Wax
- Where to Buy Sugar Wax Ingredients
- How to Apply Sugar Wax
- How to Store Sugar Wax
- Alternatives to Sugar Wax
- Conclusion


Detail Author:
- Name : Jaden Blick PhD
- Username : kim28
- Email : pgerlach@homenick.com
- Birthdate : 1999-09-07
- Address : 509 Gayle Isle Apt. 041 South Fabianbury, MT 65273
- Phone : 660.969.6216
- Company : Stehr PLC
- Job : Geography Teacher
- Bio : Dolore aut iure ut in natus repudiandae. Saepe repellat illo minus ab temporibus deserunt. Rem nihil et optio eligendi et. Amet ratione et tempore rerum expedita libero.
Socials
tiktok:
- url : https://tiktok.com/@dameon_real
- username : dameon_real
- bio : Consequuntur officiis illum et perspiciatis aut tenetur nihil.
- followers : 2322
- following : 1179
twitter:
- url : https://twitter.com/spinka2016
- username : spinka2016
- bio : Cumque labore dolorem ipsam. Mollitia qui temporibus repellat temporibus magni et. Inventore reprehenderit error ut pariatur exercitationem neque.
- followers : 1373
- following : 521
instagram:
- url : https://instagram.com/dameon.spinka
- username : dameon.spinka
- bio : Quod facere earum distinctio quas. Ea sunt nam error omnis.
- followers : 994
- following : 2610
